Roman Colosseum or Flavian Amphitheatre
After flying all night from Toronto and arriving in Rome early in the morning, we checked into La Piccola Maison (a perfect place to stay in the heart of the city within walking distance of everything) and then headed for the Colosseum where we spent the rest of the day. Our path to the Colosseum took us right by the Trevi Fountain where we stopped and had our first gelato!
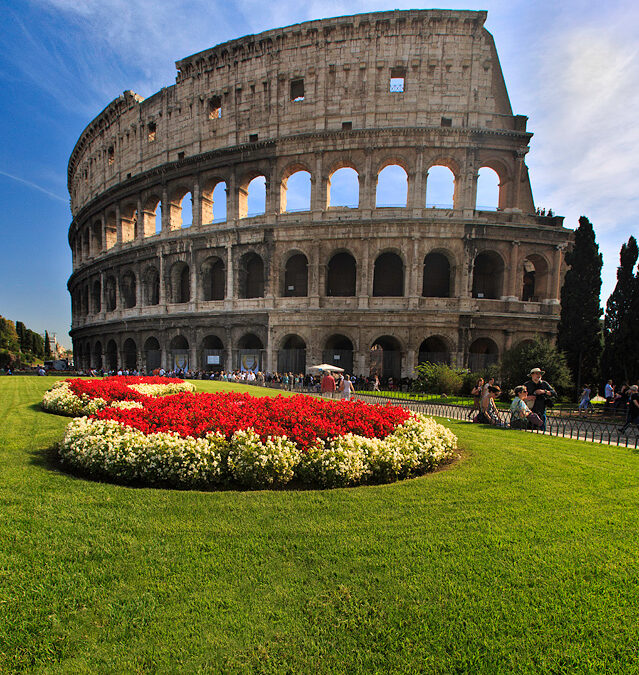
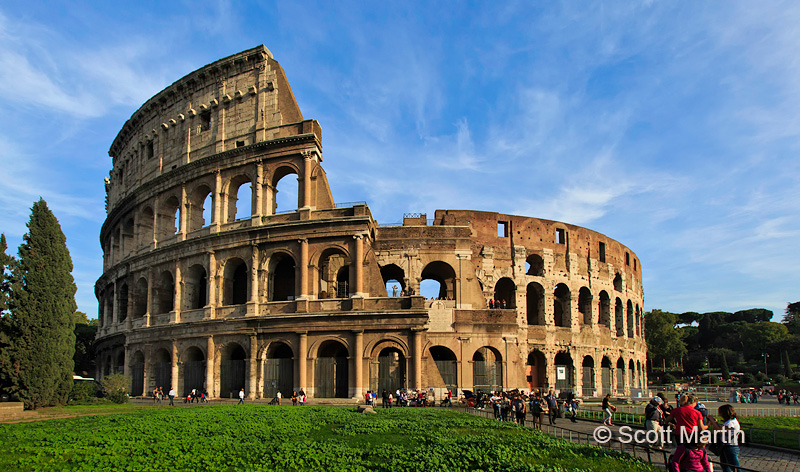
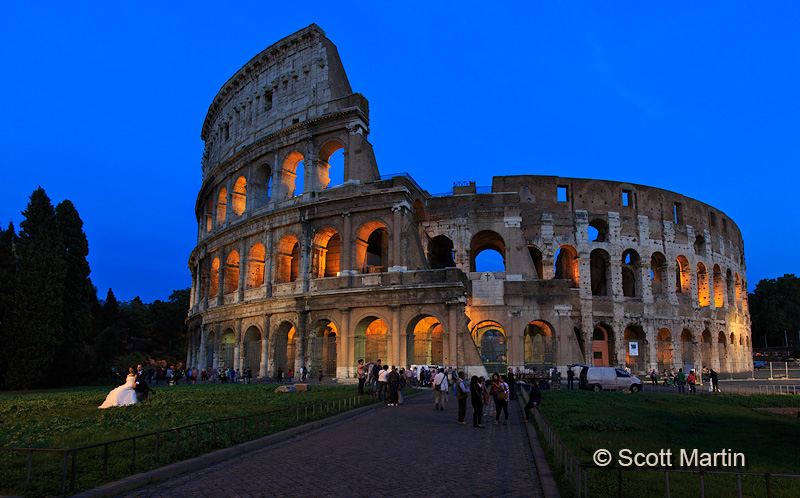
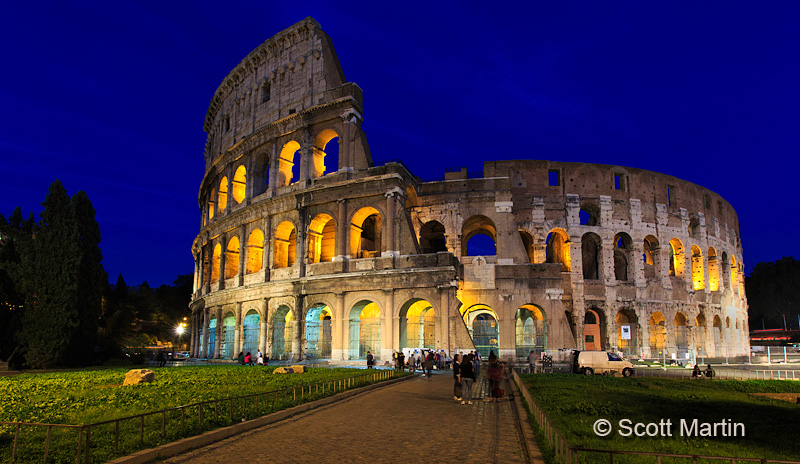
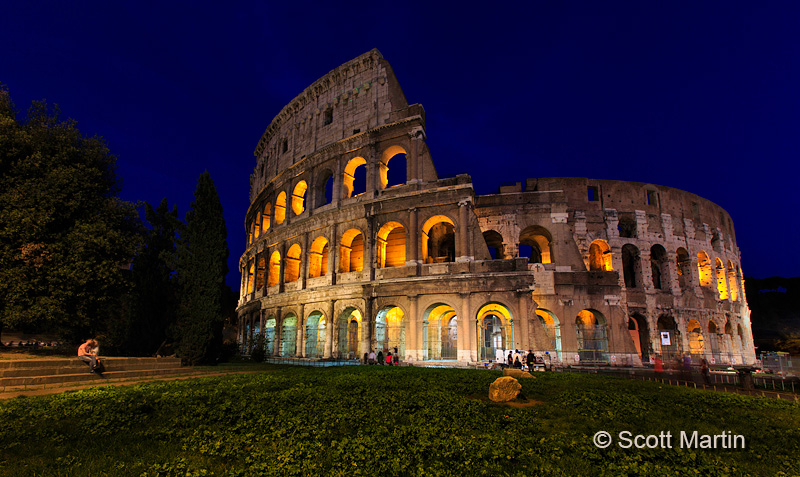
It was quite the feeling to be walking along the Via Dei Fori Imperiali and see the Colosseum coming into view for the first time, certainly the oldest structure we’d ever seen, having begun construction in 72 AD and completed under Titus in 80 AD. Here are our first views of the Colosseum.
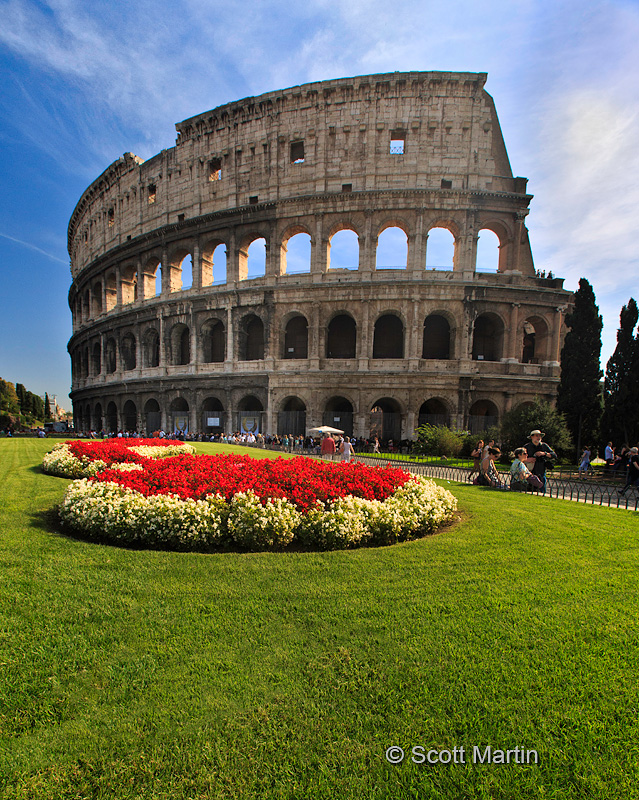
.
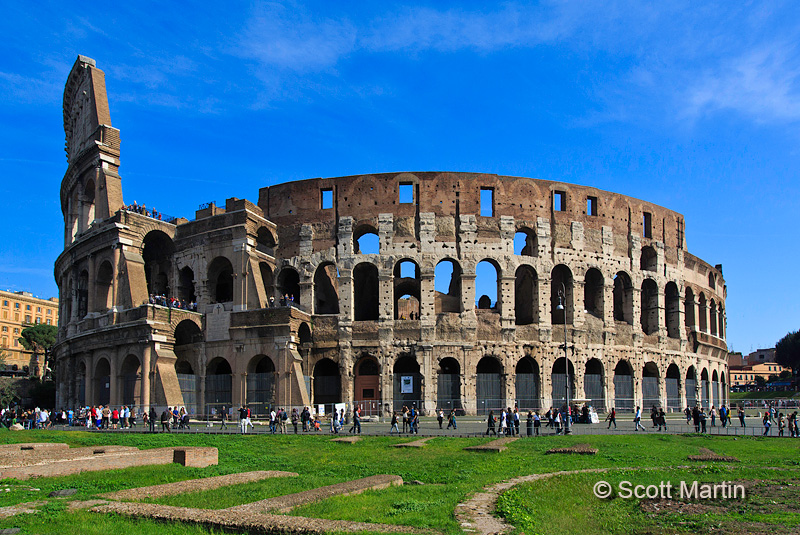
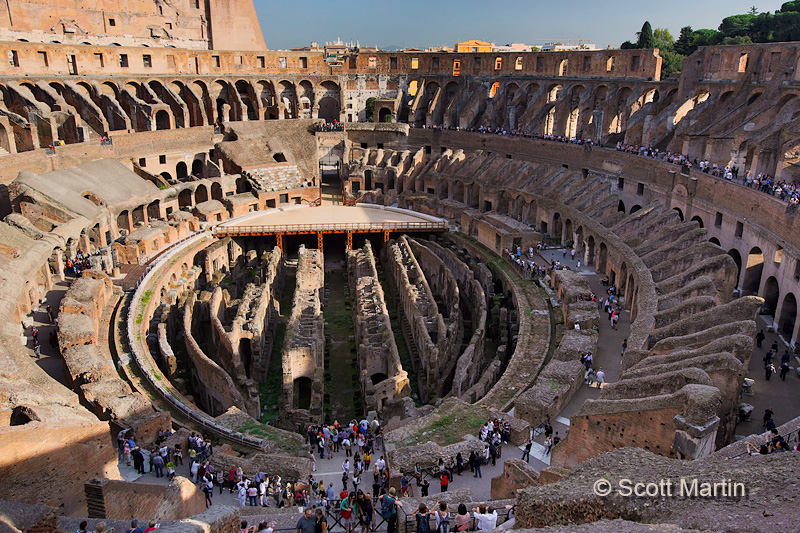
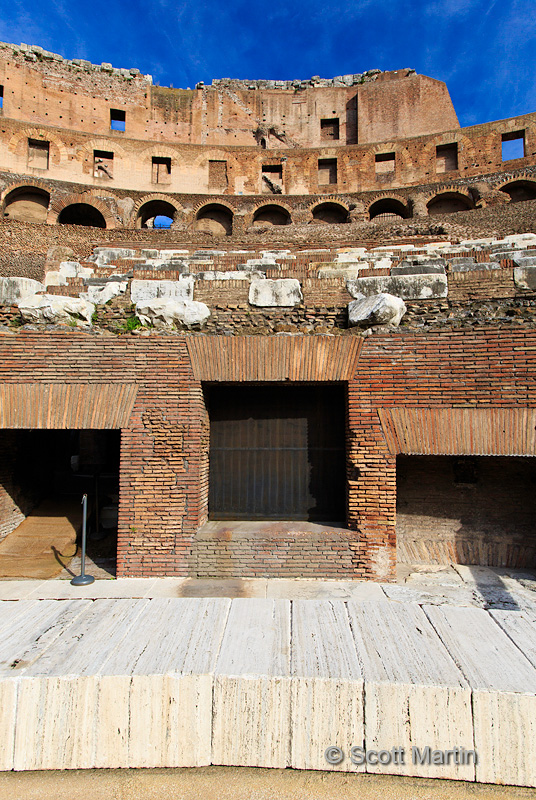
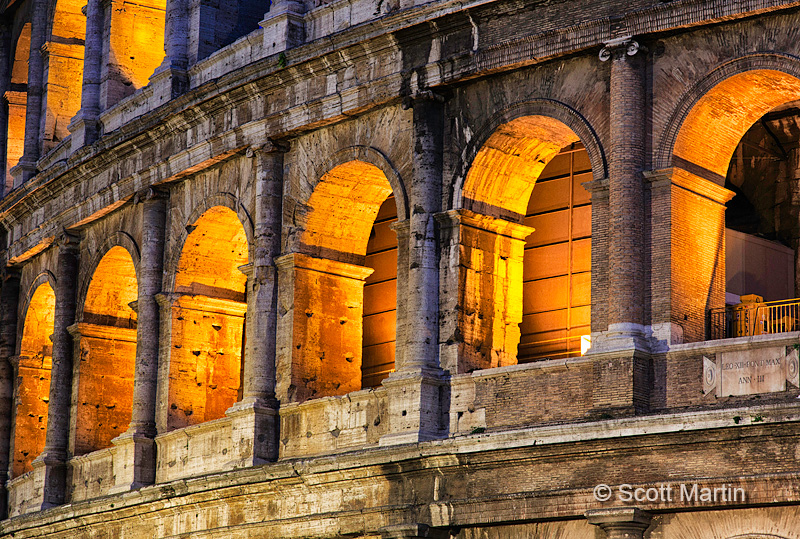
The Colosseum is a huge oval amphitheatre capable of seating 50,000 spectators. It is 615′ long, 510′ wide and stands 157′ tall, having a base that occupies more than six acres. The outer walls were made of travertine stone and no mortar was used in the construction. The stonework was held together with bronze clamps, most of which have been pried and torn out for other uses. This has resulted in the pock marks that remain today as seen below.
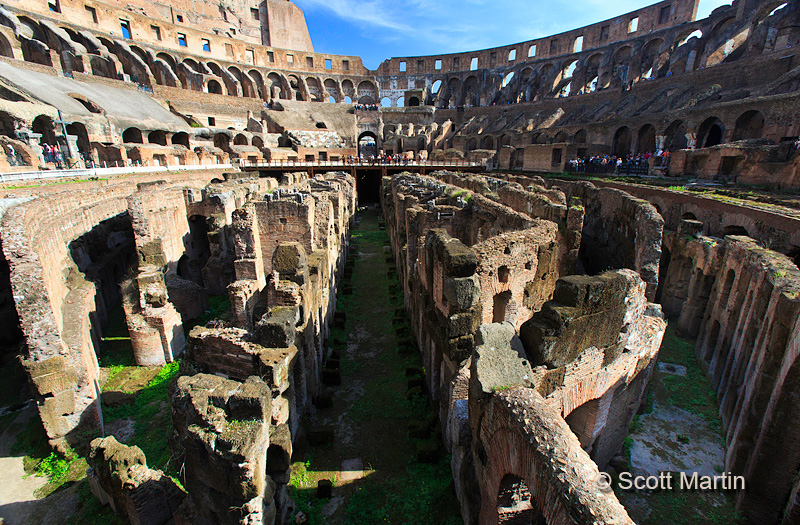
The interior floor of the Colosseum measures 287 x 180′. The floor was a wooden floor covered by up to a foot of sand. Our tour guide relayed the morbid information that the sand was required to absorb the blood shed in Colosseum events, both of wild animals and humans. It is recorded that 9,000 wild beasts were killed in the inaugural event in 80AD. Below the wooden Colosseum floor is the two-story area known as the hypogeum, which is shown next. The East end of the floor has been re-created, leaving most of the hypogeum visible.
.
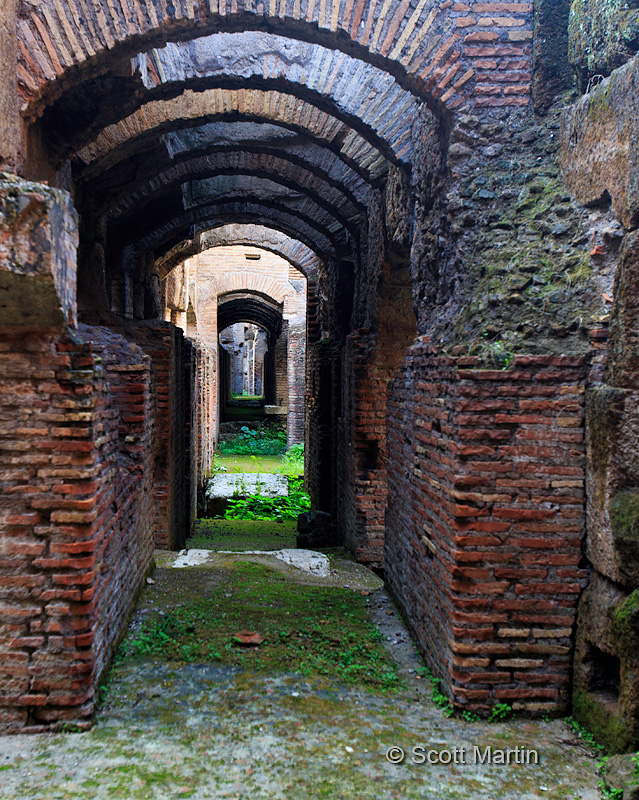
Until last year access to the hypogeum was not possible, however by purchasing special tickets you are now able to join a guided tour of the hypogeum as well as go up to the third level of the Colosseum, neither of which are possible with the general admission ticket. Although it more than doubled the cost of visiting the Colosseum it was an amazing experience to go down below the floor level into the hypogeum. Unfortunately the images you will see can not come even remotely close to portraying the feeling you get while standing there walking along the same pathways that countless Christians walked as they headed to the elevators used to push them up onto the arena floor where they were killed for sporting spectacle before 50,000 people.
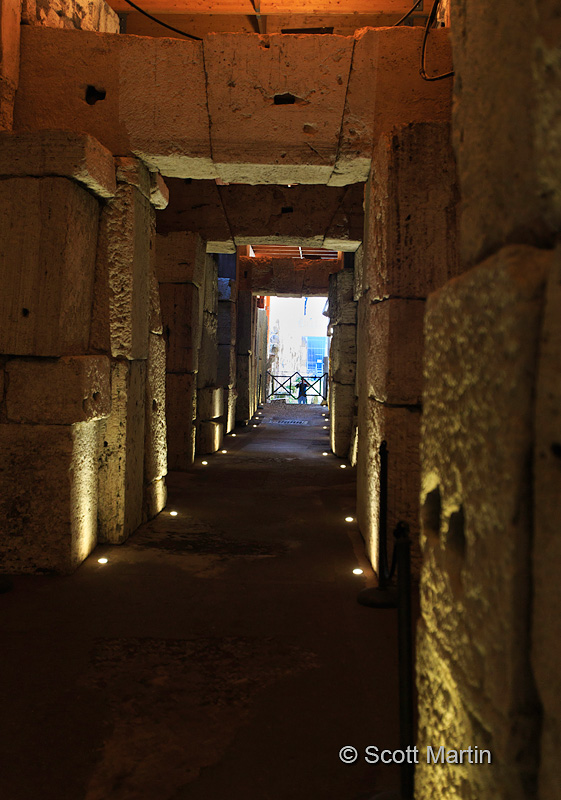
(Aside: A couple of things to note regarding the above photograph, the first being the lack of mortar and the use of keystones in the arches of the walkway to provide the necessary structural integrity. Secondly this shot was taken as an ‘in-camera’ three shot HDR, meaning that with one press of the shutter, the camera takes three images, one at the metered exposure, one (in this case) three stops underexposed and another three stops overexposed. The camera then combines the three images into one new image and deletes the three originals. This HDR (High Dynamic Range) technique has been in use for years however the processing was always done on the computer using Photoshop and taking a lot of time. With today’s new cameras it can be done in a few seconds right in the camera.)

The next image shows the outer wall of the hypogeum and along the pathway you can see travertine slabs which are bases for a complex elevator system that was used to move wild animals, people, and large stage props, from the hypogeum up onto the arena floor. It is thought that the elevators were moved by rope and pulley systems that were manned and operated by slaves who either lived in the hypogeum or were brought in through tunnels to work the elevators.
A close up of an elevator shaft support, this one is #8 of eighty found in the Colosseum.
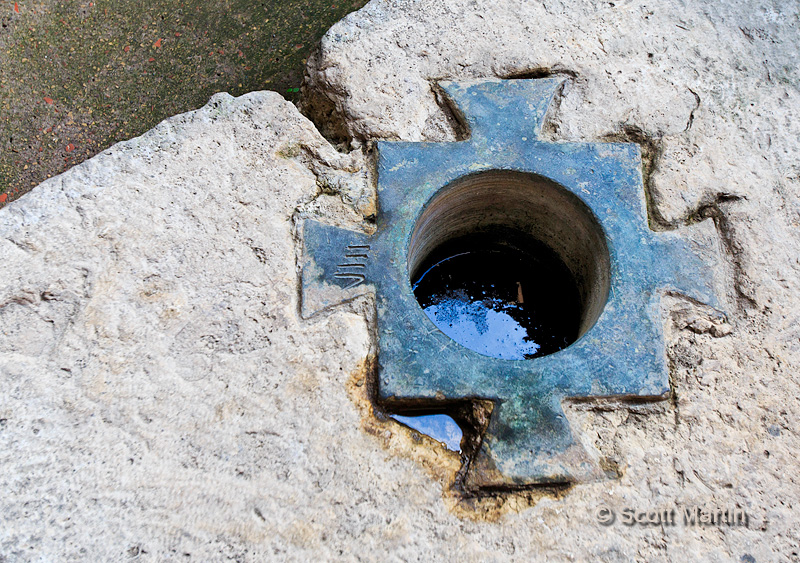
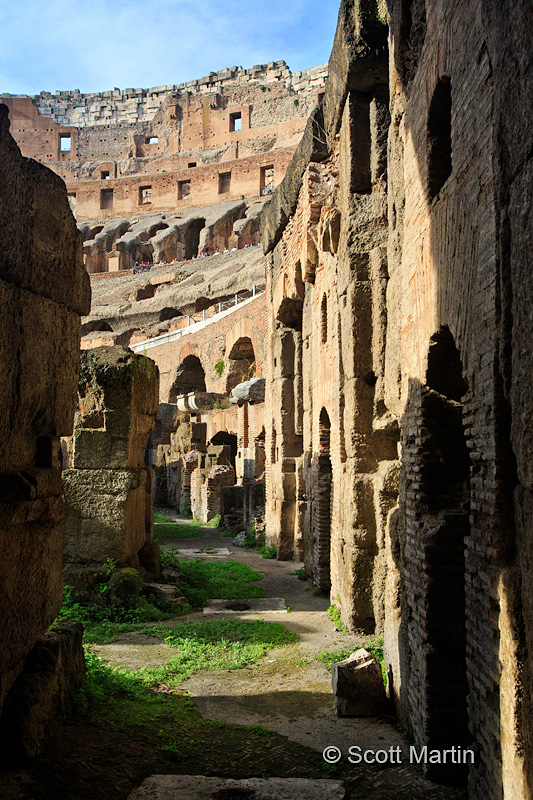
It’s hard to believe this walkway is almost two thousand years old.
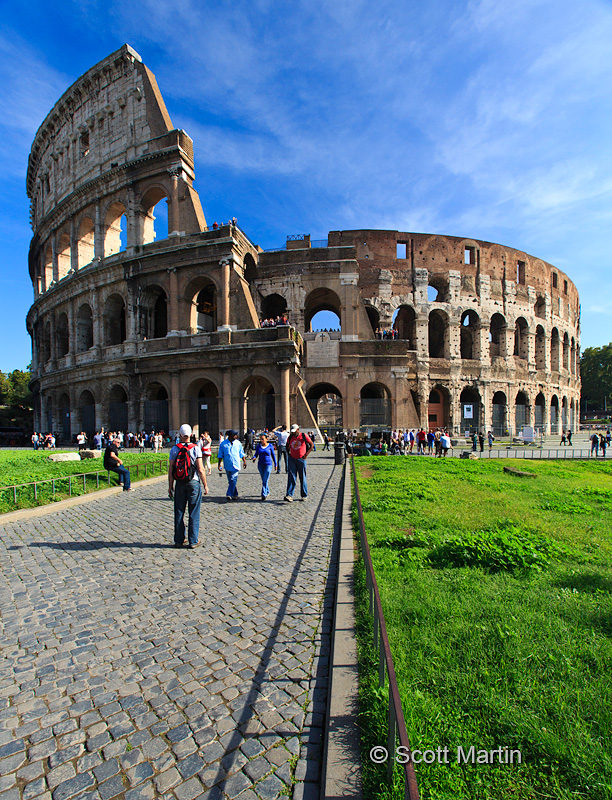
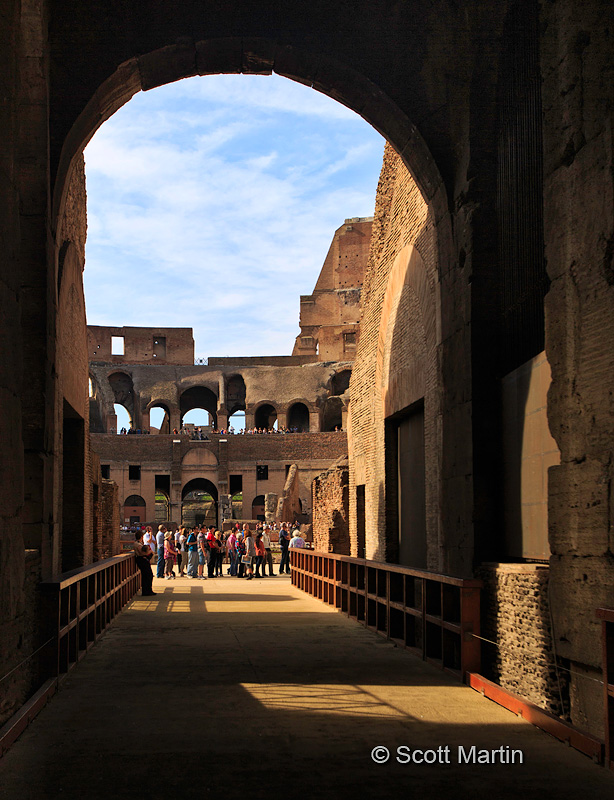
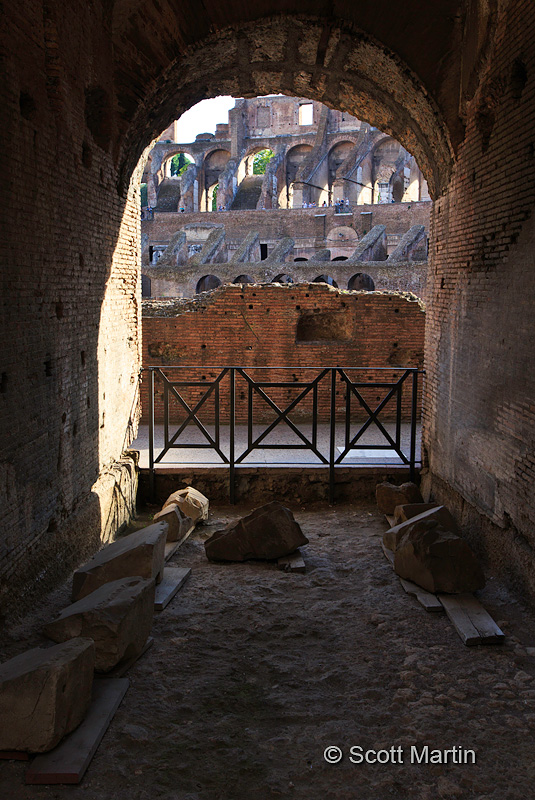
The Colosseum was known for its ability to quickly get spectators into and out of the building, in fact there are eighty arches leading into the amphitheatre, seventy-six for regular people and four large arches for the elite. Below is the East arch, through which the Senators entered and headed to their private seating area, which is shown in the second image below. Each white marble slab is the base for a senator’s chair and many of these slabs have the various senator’s names engraved on them. You can also see the senator’s seating area and the East arch in the fourth and fifth images in this blog post.
.
Here is one of the much smaller 76 entrance arches used by the commoners.
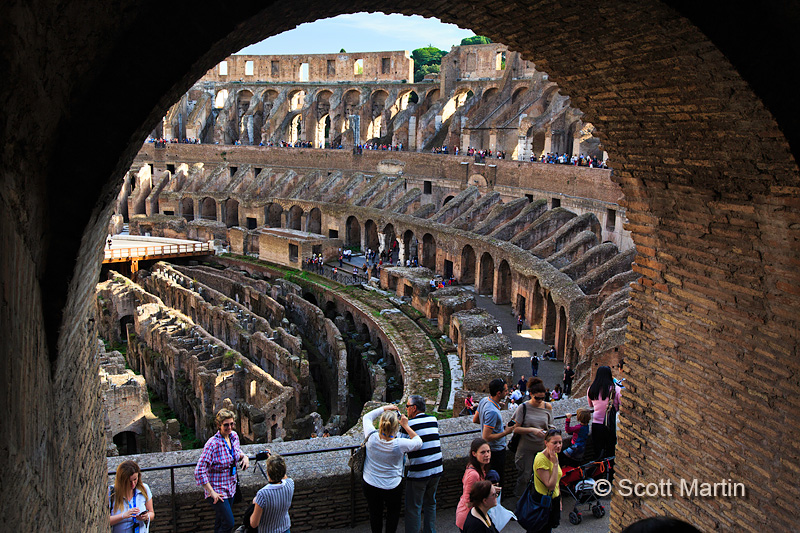
The climb to the third level of the Colosseum provided a wonderful birds eye view of the amphitheatre.

Another view from the stairwell between the second and third levels.
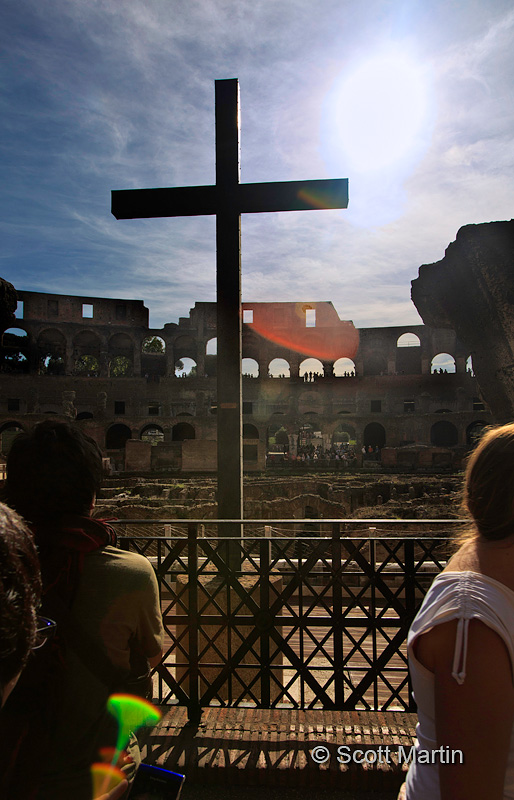
The last gladiatorial fights were circa 435 and the last recorded animal hunts around 523. By the end of the sixth century a church was incorporated into the Colosseum and a cross erected for the first time. Since then the Colosseum has been used in many different ways and certainly makes for interesting reading if you are so inclined.
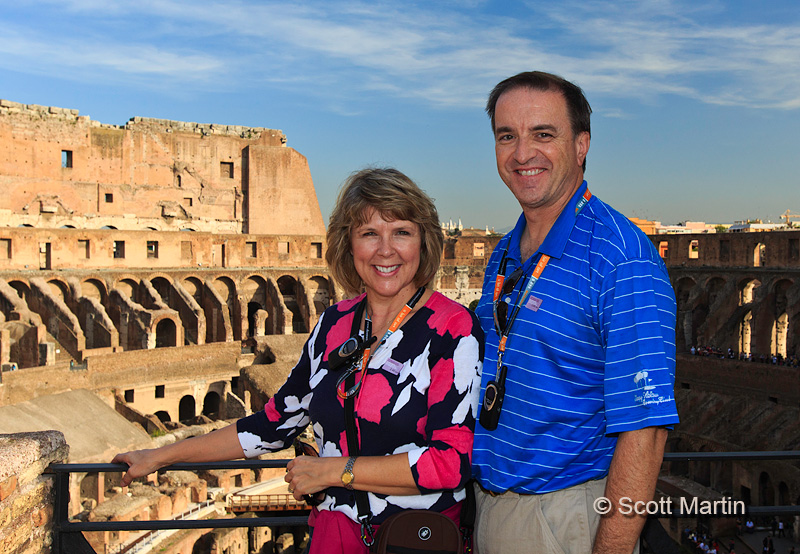
Our first day in Rome was terrific and spending a few hours in the Colosseum was an experience like none other. We even took time to pose like the tourists we were!
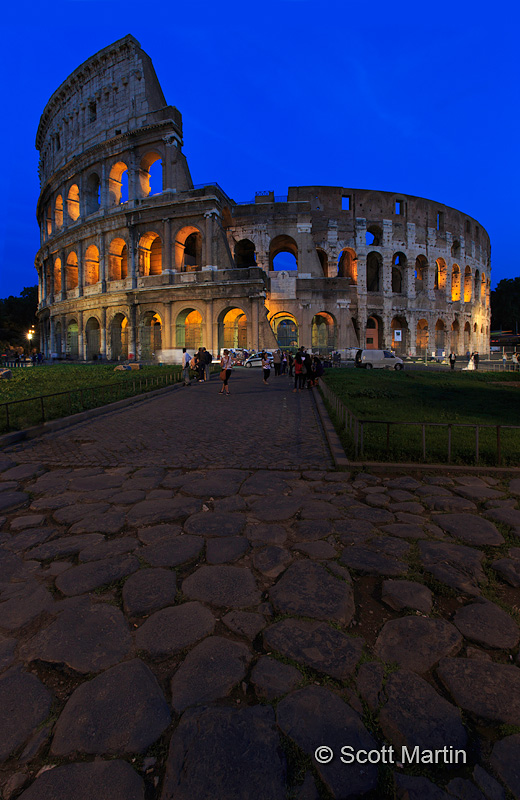
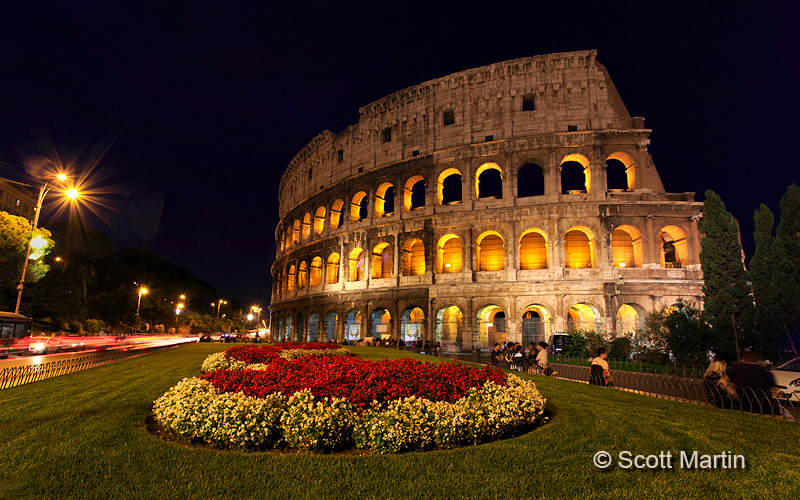
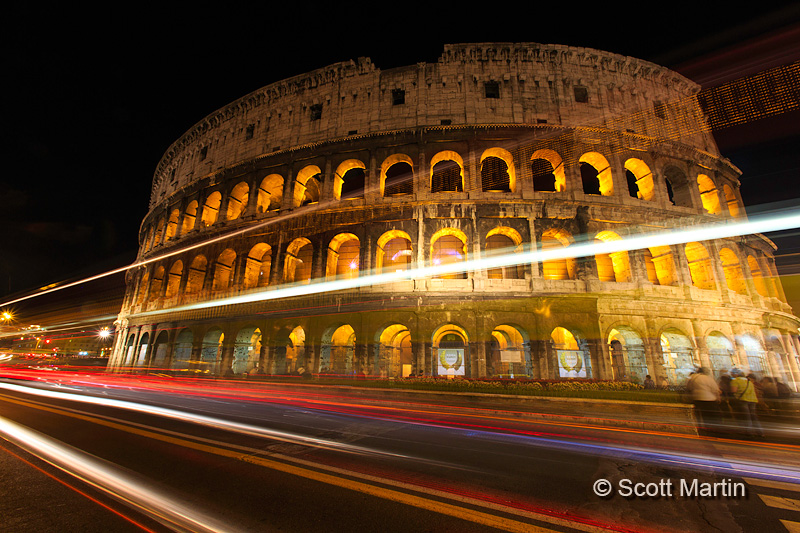
One final shot of the Colosseum.
All of the images taken in this post were with the Canon 5D Mk III and either 16-35 or 24-105mm lenses. Larger size versions of the images in this post can be seen in the Rome gallery.
Thanks for taking time to look through these images of the Roman Colosseum and as always your comments are much appreciated.


Follow Scott Martin Photography