Last fall Deb and I celebrated our thirtieth wedding anniversary touring though as much of Europe as we could possibly cover in seventeen days. It was a fabulous trip that saw us accumulate over 4,500 km on our rental car and see so many fabulous sights that had it not been for photographing as much of it as possible we surely couldn’t remember everything! Over the upcoming weeks we will try to post some of the highlights of our trip on the blog and will also post the images in the travel section of the website gallery.
We began our trip in Rome and spent our first afternoon in Italy touring the Colosseum, which was a truly amazing experience. The emotions you feel as you are guided through the hypogeum (underground levels of the Colosseum) are indescribable as you recall in a way that is not possible by reading a book, or studying in school, the events that occurred in the very place you are standing some two thousand years ago.
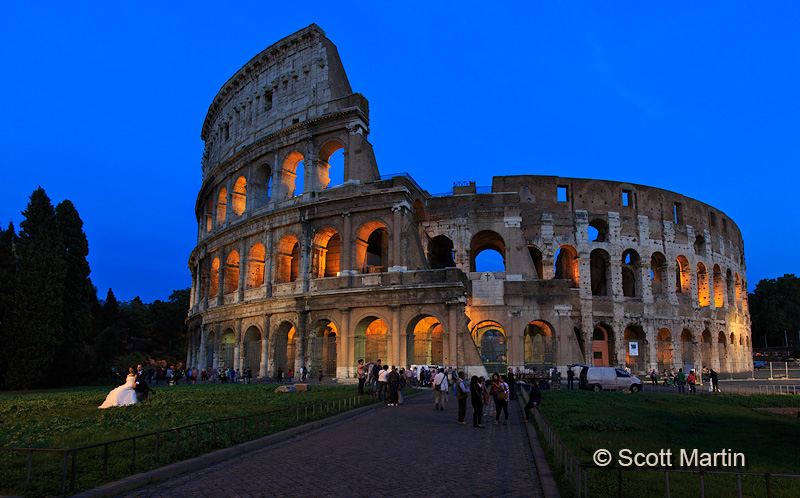
The next blog post will include more of an informative photographic description of the Colosseum and its history however for now I would like to post a few images of the Colosseum taken at night. They are posted in chronological order so you can see the sky darkening in each image.
Night photography is a lot of fun and as long as you have the correct equipment and know a little of the technical fundamentals it’s not very hard to get some interesting pictures. The most important piece of gear for night photography is a good tripod. It is impossible to hand hold a camera in the low light of the evening and get a good sharp image as the exposures required are just too long. From a technical perspective you may find the following helpful; try to take night shots while there is still blue in the sky as once the sky is black all detail is lost and the edges of the subject are lost in the darkness; use a low ISO (200 or less) to help reduce the noise in the image which is always more noticeable in the dark colours that dominate night photography; use a small aperture (f/22) for great depth of field so everything remains in sharp focus throughout the image. A small aperture also creates the starburst effect on light sources that many people enjoy seeing.
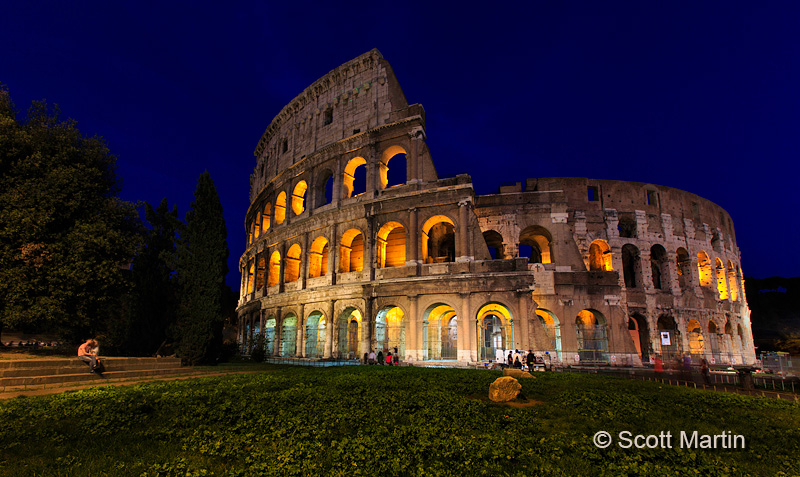
It is impossible to shoot the Colosseum without people milling about however you try your best to wait until there are no people in the foreground. In this case having a bride and groom in the picture adds to the appeal of the image.

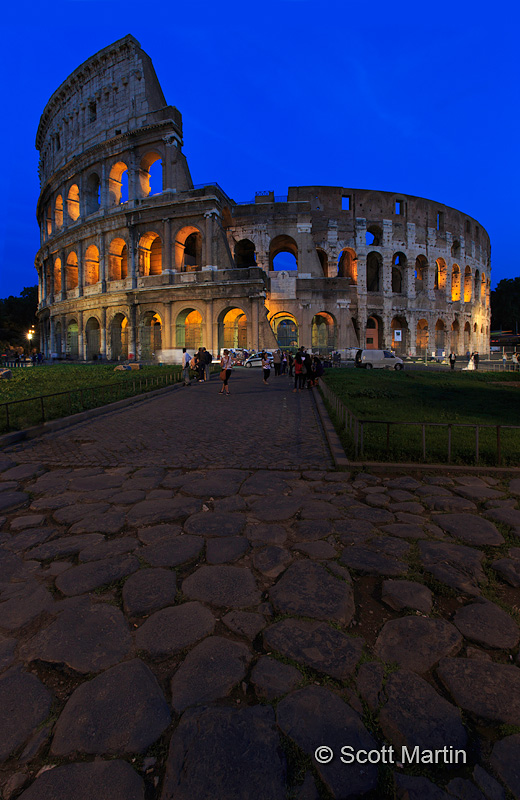
Most night images are taken in landscape orientation however experiment with a vertical perspective as well, especially if you can incorporate something of interest in the foreground. In this case the large cobblestones which have probably been there for almost two thousand years….you cant help but wonder who has walked on those very stones.
.

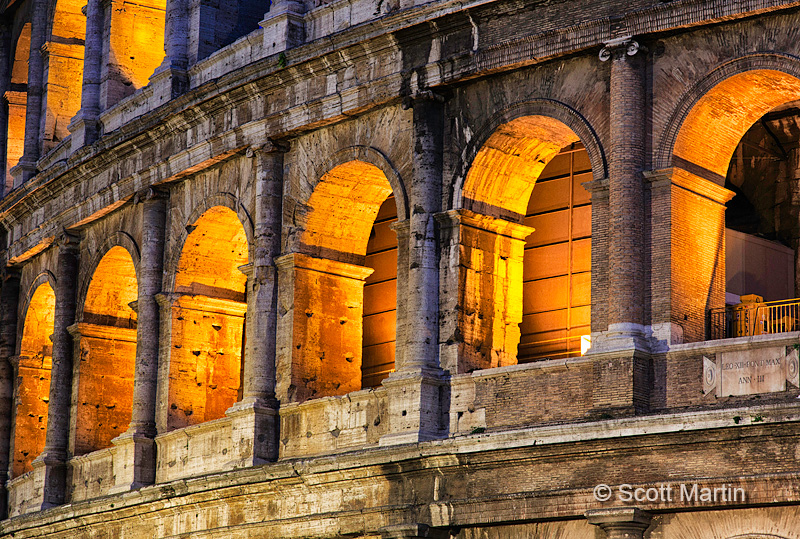
The next image is not in keeping with the others however is a reminder that it’s always good to experiment with different perspectives of the same subject when taking shots at night, even if it means changing lenses to zero in on a specific area that interests you. The next image has also been processed differently in an attempt to portray the age of the building.
.
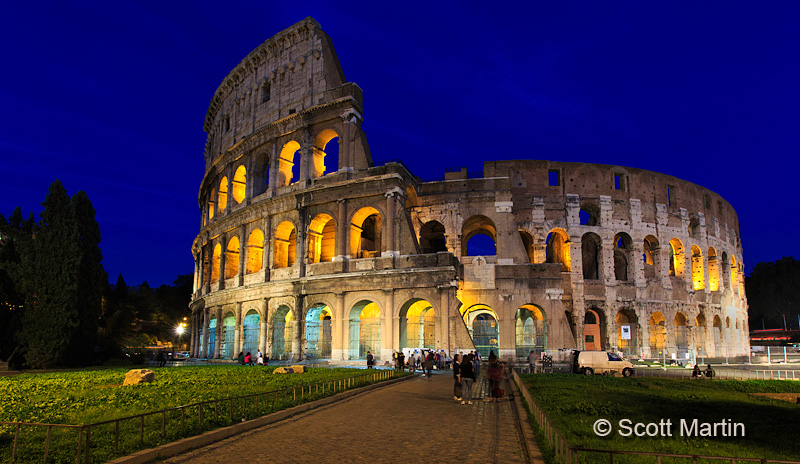
The next image was also designed to include the couple on the left and although they are very blurry because of the twenty-second exposure, they do add to the image.
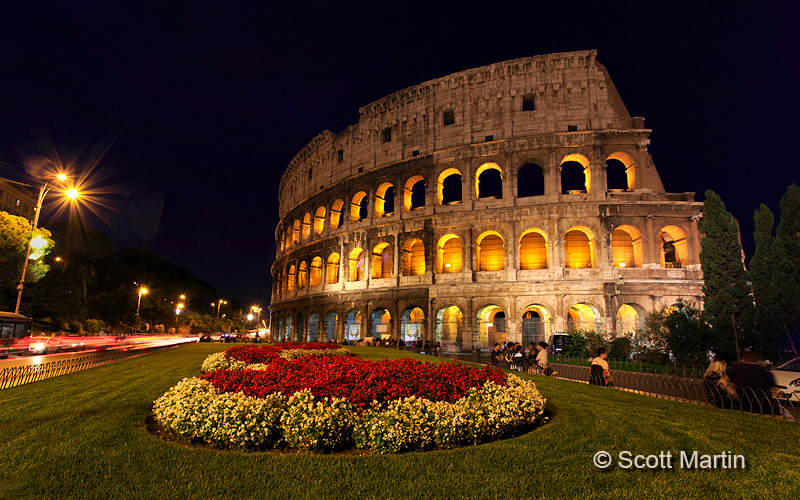
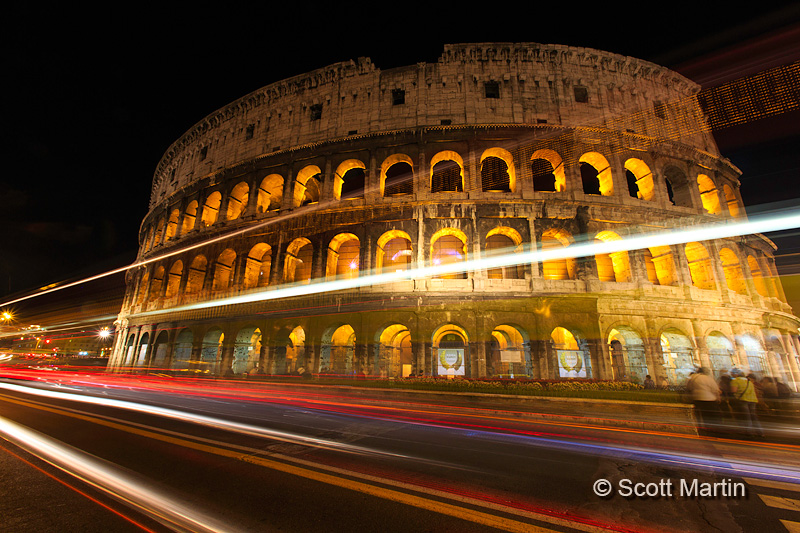
By now the sky is almost devoid of blue so its time to pack up or in this case move to another location and shoot images that don’t rely on the background to be effective. When the sky becomes black make sure you always have a foreground object that provides plenty of interest compositionally; the flower bed in the next image and the streaming lights from the traffic in the last.
.
All of the images in this post were taken using a Canon 5D Mk III on a Gitzo 1542T tripod using a 16-35mm or 24-105mm lens. If you have any questions regarding the taking of these images please leave a comment and I’ll be glad to respond. In the mean time, dust off that old tripod and start practicing night photography and I know you will be pleased withy the results.
Scott – the night shots of the Colosseum are just gorgeous – I can’t wait to see some of your other pictures! Rome has an endless supply of great photo ops doesn’t it.
Thanks Heather…we are just finishing processing all the pictures so the goal is to post a few every week for the next little while. You are so right, the photo ops are endless!
These pictures are really great, Scott! Really looking forward to seeing the rest of them.
Thanks Dad….lots more to come!
Hey Scott,
These are simply stunning shots my friend. Enjoyed reading your advice as well. Want to head over there this year hopefully. Will look forward to seeing what we can achieve. Take care!
Thanks Rob and I sure hope to get to Europe this year. We did a fairly aggressive 17 day trip, but it was amazing and all the hotels were great too. Let me know if you want a copy of the itinerary.
These are wonderful Scott, can hardly wait to see the rest.
Thanks Arni. Lots more to come and hopefully I can average a blog post a week for the next little while.
Stunning pics bud!
Thanks Raoul. Great to hear from you and I cant wait for you to see the Sistine Chapel shots!!